Quick answer
Build one stable base scene, test it, then duplicate it. Keep media in a portable folder and understand that OBS Profiles store output settings while Scene Collections store scenes and sources.
What you need
- OBS or Streamlabs
- Downloaded creator-pack folder
- One gameplay source
Verification: OBS Sources, Profiles, Scene Collections and Quick Start documentation.
Jump to a section
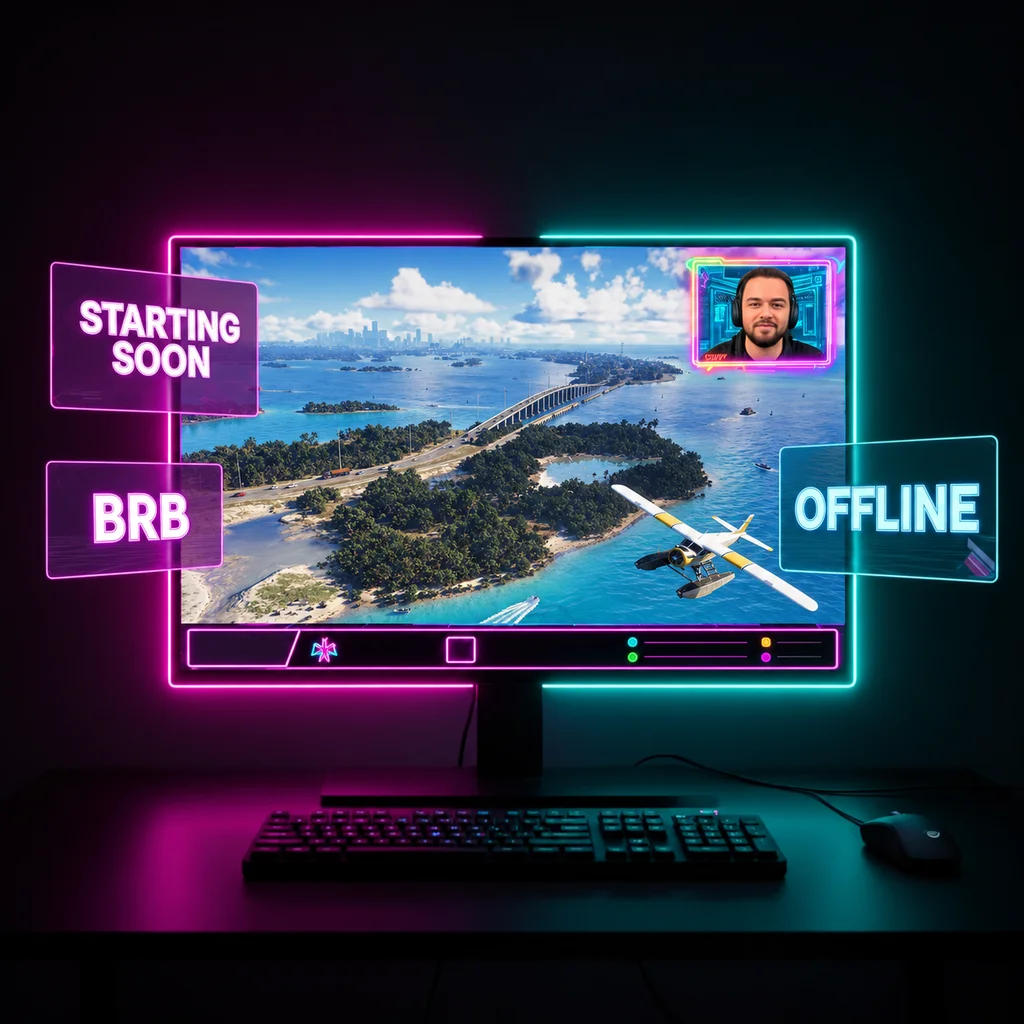
Start with a clean folder and one scene
Keep the downloaded files together before importing anything. Separating overlays, scenes, alerts and social assets makes later replacements much easier.
- 01
Create one base scene
Add gameplay first, then webcam, overlay and alerts in that order.
- 02
Test the base
Record 30 seconds locally and check framing, audio and readability.
- 03
Duplicate only when stable
Create Starting Soon, BRB and Intermission from the tested base instead of rebuilding each scene.
Sources for this section
Import static and animated assets correctly
Use Image Source for PNG/WebP assets and Media Source for video loops. Keep looping animations muted unless the file genuinely contains audio you want on stream.
Fast rule
If an asset covers gameplay information, resize or remove it. Branding should frame the content, not compete with it.
Why an animation may stutter+
- The file is unnecessarily large
- Too many animated sources are active at once
- Hardware decoding or GPU headroom is limited
- The scene contains browser sources that are also expensive
The selected chapter shows how media and still-image sources are added in OBS, which complements the creator-pack installation steps.
Open on YouTubeOBS and Streamlabs: use the same production logic
Menus differ, but the core source model is similar: gameplay at the bottom, then camera, frame, alerts and labels. Build for clarity first and platform-specific polish second.
Swipe the table to compare columns.
| Task | OBS | Streamlabs |
|---|---|---|
| Static overlay | Image Source | Image source |
| Animated loop | Media Source | Media source |
| Web widget | Browser Source | Browser source / widget |
| Duplicate a layout | Duplicate scene | Duplicate scene |
Before going live
- Run a local recording with the exact scene collection you will use
- Check game HUD visibility at normal viewing size
- Confirm microphone, game and alert levels separately
- Keep a minimal fallback scene with gameplay + microphone
- Do not add a new browser widget minutes before launch
Make the setup portable before you duplicate it
Keep media in a stable project folder and avoid scattering files across Downloads, Desktop and temporary locations. In OBS, back up both the Scene Collection and the relevant Profile because they store different parts of the setup.
Swipe the table to compare columns.
| Backup | Why |
|---|---|
| Scene Collection | Scenes, sources and global audio |
| Profile | Stream, video and output settings |
| Media folder | Prevents missing-file paths on another machine |
Sources for this section