Quick answer
Build from gameplay upward. Keep every branding layer removable, separate Scene Collections from output Profiles, and validate readability at real viewer size.
What you need
- OBS
- Gameplay source
- Optional webcam / alerts / overlay assets
Verification: OBS Sources, Profiles, Scene Collections and Audio Mixer documentation.
Jump to a section

Build the source stack from gameplay upward
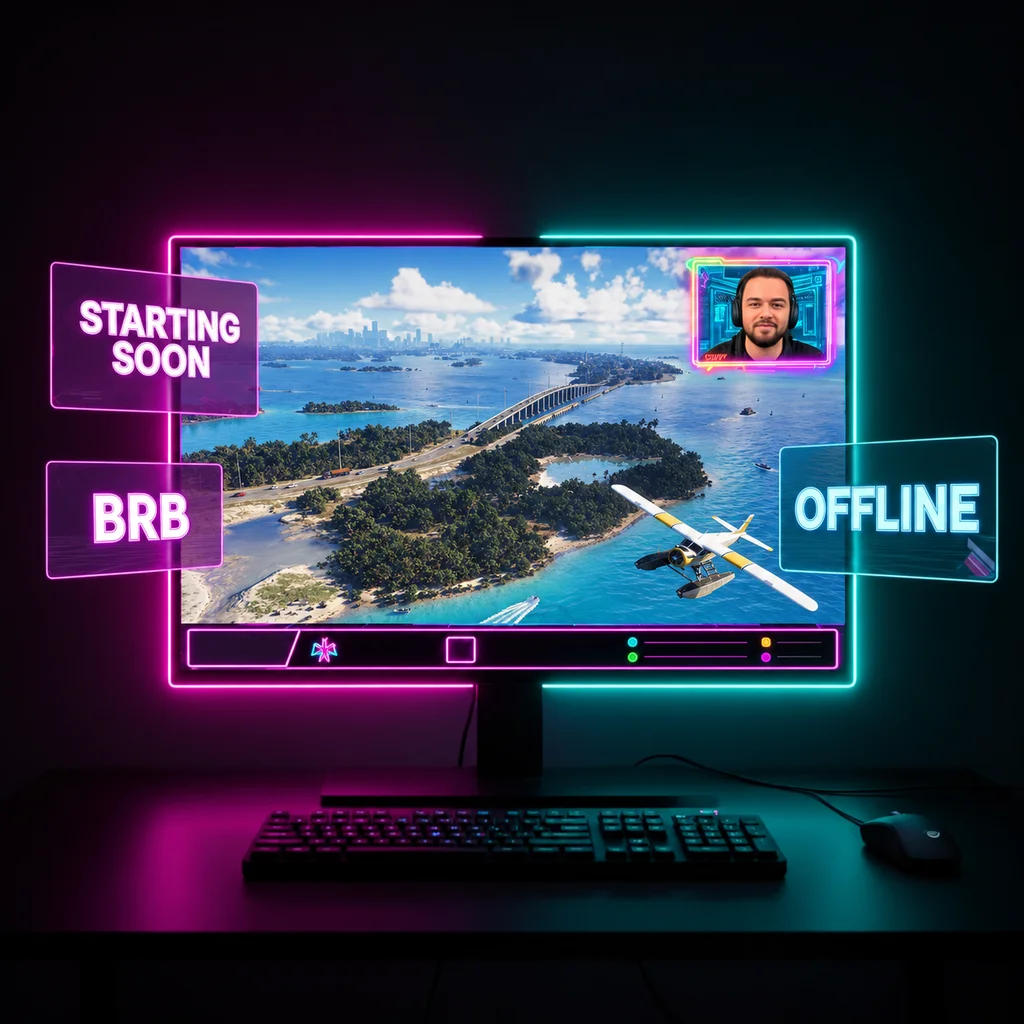
The safest overlay is one you can remove without breaking the stream. Keep gameplay as the foundation and make every visual layer optional.
Safe-zone rule
Never cover the minimap, subtitles, mission prompts or other information the audience needs to understand the game.
The embedded chapter jumps to scenes and sources so the written source-stack model can be seen directly in OBS.
Open on YouTubeSources for this section
Use the right source for the right asset
Swipe the table to compare columns.
| Asset | OBS source | Use |
|---|---|---|
| PNG / WebP | Image | Static frames and badges |
| MP4 / WebM loop | Media Source | Animated scenes or accents |
| HTML widget | Browser Source | Alerts, labels, web overlays |
| Capture card | Video Capture Device | Console gameplay |
Keep motion selective
One moving accent can make a scene feel alive. Five moving layers create visual noise and consume resources.
When to use Browser Source+
- Alerts
- Chat widgets
- Dynamic labels
- Web timers
When not to use it+
- Purely decorative elements that could be a lightweight image or video
- Anything the stream cannot function without
Test at viewer size, not only on your monitor
- Open the stream on a phone
- Check text at 100% player size
- Confirm contrast during both bright and dark gameplay
- Remove any element you stop noticing only because you built it
Profiles and Scene Collections solve different problems
OBS Profiles store output-related settings such as Stream, Video and Output configuration. Scene Collections store scenes, sources and global audio sources. Back up both if you want a portable production setup.
Swipe the table to compare columns.
| OBS feature | Stores | Does not store |
|---|---|---|
| Profile | Stream / Video / Output settings | Scenes |
| Scene Collection | Scenes / Sources / global audio sources | Output settings |
Sources for this section
Audio should be set once, then watched
OBS's current Audio Mixer guide recommends setting levels at the source first, then checking the mixer meters and monitoring path. For launch day, prioritize consistent speech and game balance over aggressive loudness.
- Set device gain before relying on the OBS fader
- Watch the meter for clipping rather than chasing a fixed magic number
- Use monitoring only where it helps diagnose routing
- Re-test after changing headsets, capture devices or console audio routing
Sources for this section